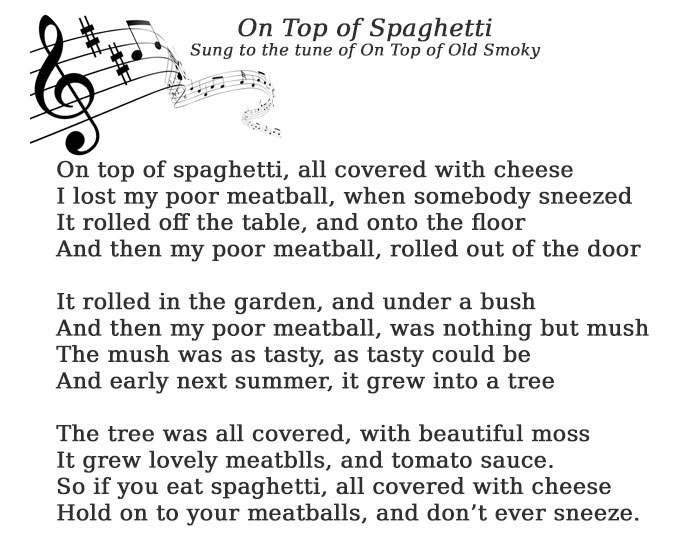
 Whenever I think of spaghetti and meatballs I start to sing, “On top of spagheeeti, all covered with cheeeese, I lost my poor meeetball when somebody sneeeezed.” I don’t know why I do this but it comes into my head every single time and I sing the whole song. Maybe because I lived in the foothills of the Great Smoky Mountains for a long time?
John would only eat pasta if it was drowning in seafood so I only got to eat dishes like this when he was away. I’m sure he’s secretly grateful I don’t plonk this on his table and say, “It’s this or nothing, big fella.”
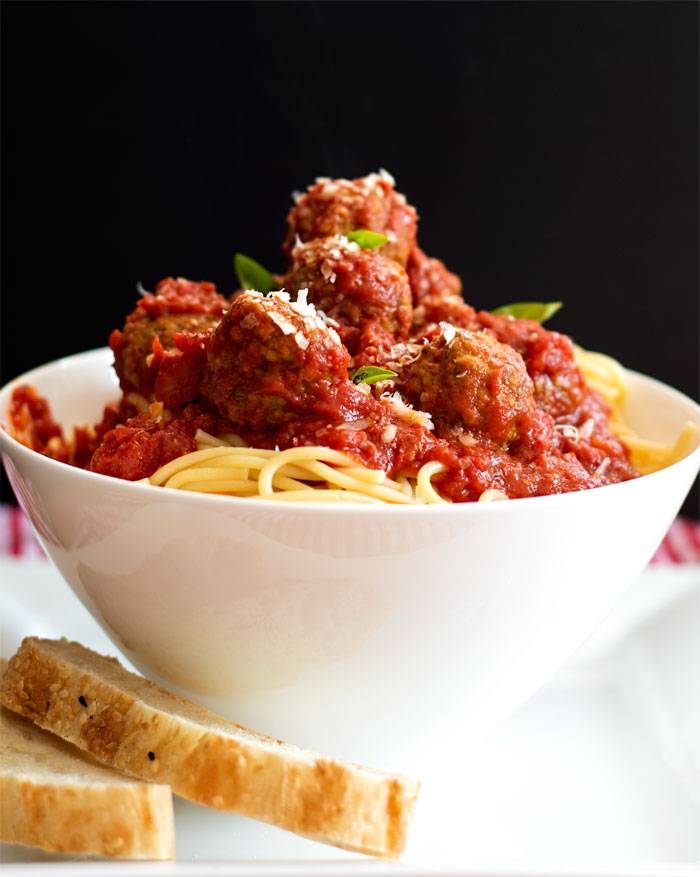
Meatballs are close friends of mine and while spaghetti can be awkward to eat, I do think of Lady and the Tramp when I roll the first bite. With no husband to take the other end of the spaghetti, my life remains one long line of nostalgic instances. I make my meatballs rather small to fit in my rather small mouth but they can be any size. If I were making meatballs for a sandwich, I’d make them bigger.
I make my meatballs and put them on a foil lined baking tray sprayed with cooking oil and bake only until they are browned. They will finish cooking in the sauce.

- 2 tbsp olive oil
- 1 large onion, finely chopped
- 1 garlic clove, finely chopped
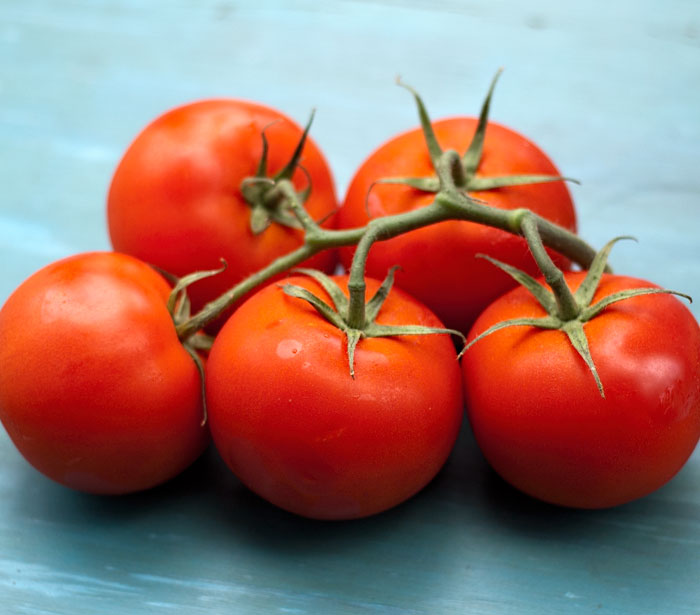
- 2 x 400g (14oz) tins of chopped plum tomatoes
- ¼ cup tomato paste
- 1 bottle (680grams) passata or tomato puree
- 2 tablespoons sugar
- 1 teaspoon dried basil
- ½ tsp Tabasco sauce
- 1 tsp dried oregano
- 150 mls red wine (about 5fl oz)
- 1 teaspoon salt
- ¼ teaspoon freshly ground pepper
- 250 grams (1/2 pound) beef mince (ground beef)
- 250 grams (1/2 pound) pork mince (ground pork)
- 1 garlic clove, finely chopped or minced
- 50 grams (1/2 cup) dry bread crumbs
- ¼ cup milk
- 2 eggs
- ½ teaspoon salt
- 1 tablespoon fresh parsley, chopped
- ¼ teaspoon freshly ground pepper
- ½ cup finely grated fresh parmesan cheese (not out of a can)
- 500 grams (16 oz) dried spaghetti
- In a large sauce pot, add the olive oil, onion and garlic and sauté over medium-low heat until translucent. You don't want to burn the garlic or brown the onions.
- Add the red wine and cook for 2-3 minutes.
- Stir in the tomato paste, chopped tomatoes and passata/puree and mix well.
- Add sugar, dried basil, Tabasco sauce and salt and stir to combine.
- Simmer on low heat for 1½ hours then add the meatballs and continue to simmer for another hour.
- This is more sauce than you'll need but I make this much and freeze what I don't use.
- Preheat oven 200C/400F
- Add all ingredients to a large bowl and mix with bare hands for best results
- Wet hands and shape meatballs about the size of a golf ball and place on a baking sheet that's been covered with tin foil and sprayed with cooking oil.
- Bake for about 15 minutes until the meatballs are nicely browned (they will continue to cook in the sauce)
- In a large pot of boiling salted water, add the dried spaghetti and cook for 13 minutes until al dente. Drain.
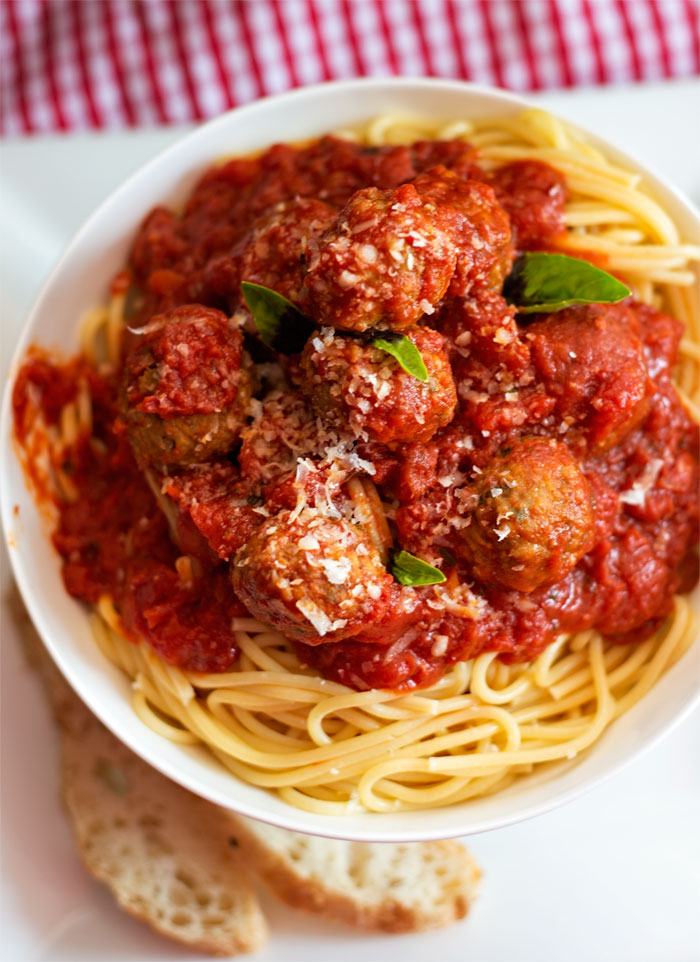
- Serve spaghetti with sauce and top with meatballs and shaved Parmesan cheese on top.
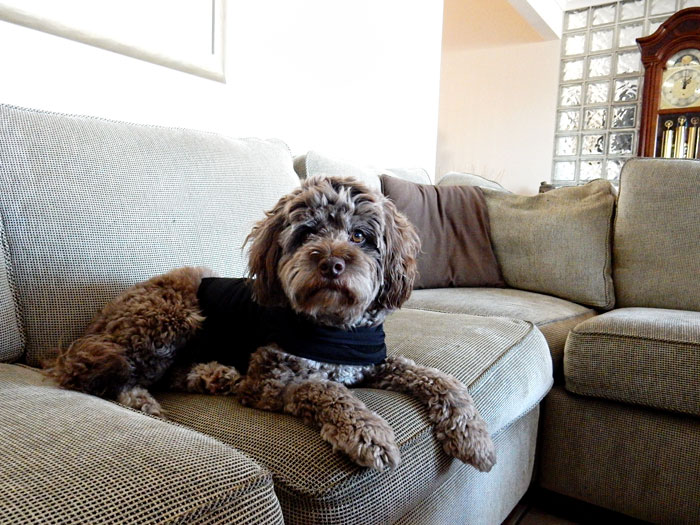
Update on Charlie. No more conehead and no more boots but he still has on the compression shirt. His stitches come out on Friday. We won’t go into all the infection and trouble we had with the vet. He’s better now and that’s all that matters.