
Every few weeks, I go to lunch with my friends Jan and David. We haven’t been for a while because Jan and David have been swanning around France for two months, including spending a few days with Jamie Schler from Life’s a Feast fame who now also owns a hotel in Chinon, France.
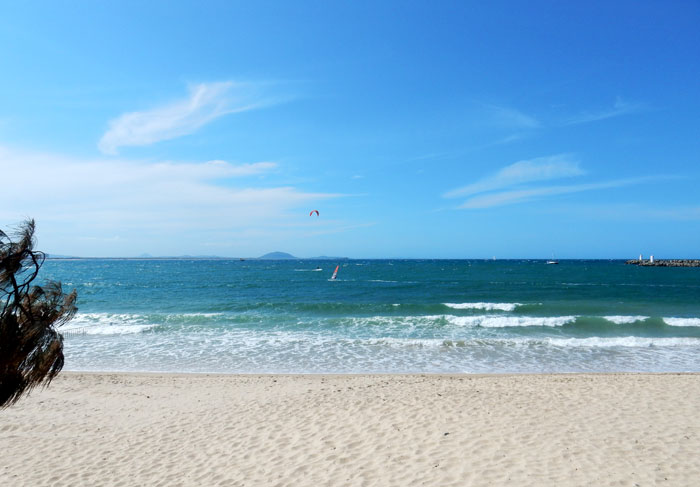
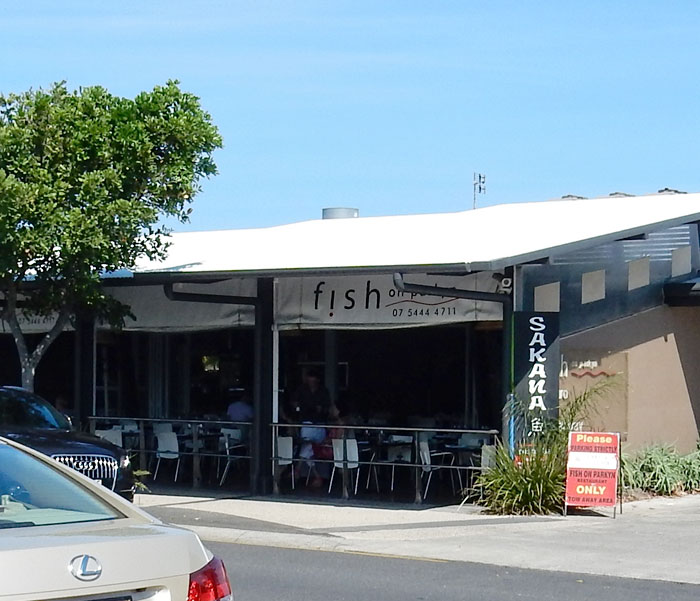
All that changed last week when we met up at Fish on Parkyn in Mooloolaba. The restaurant is just across the street from the beach where I took this photo, in the tourist spot of Mooloolaba, about 5 or 10 minutes from where we live.
Do you have special dishes at restaurants that you can’t resist ordering every time?
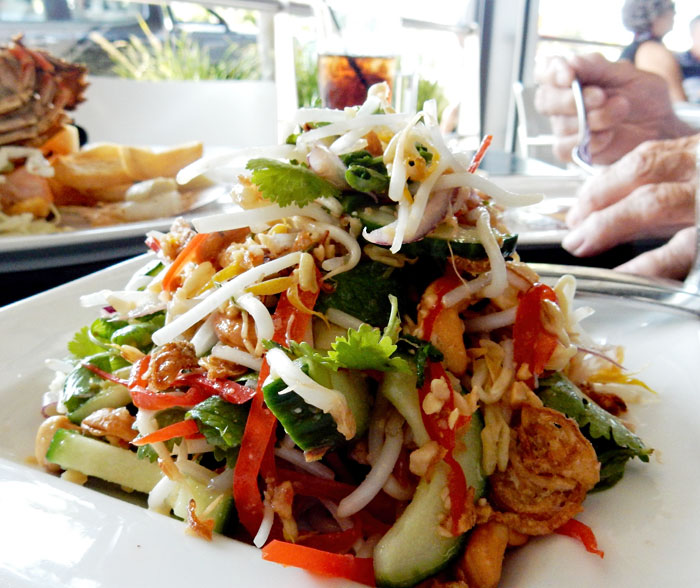
I’d been to Fish on Parkyn quite a while ago and I remembered a Thai Bean Sprout salad filled with bean sprouts, mint, coriander (cilantro), red chili, red onion, cucumber, cashews and Asian fried onions. The dressing is sweet and sour with a bit of heat from fresh ginger. I could live on this salad, I promise.

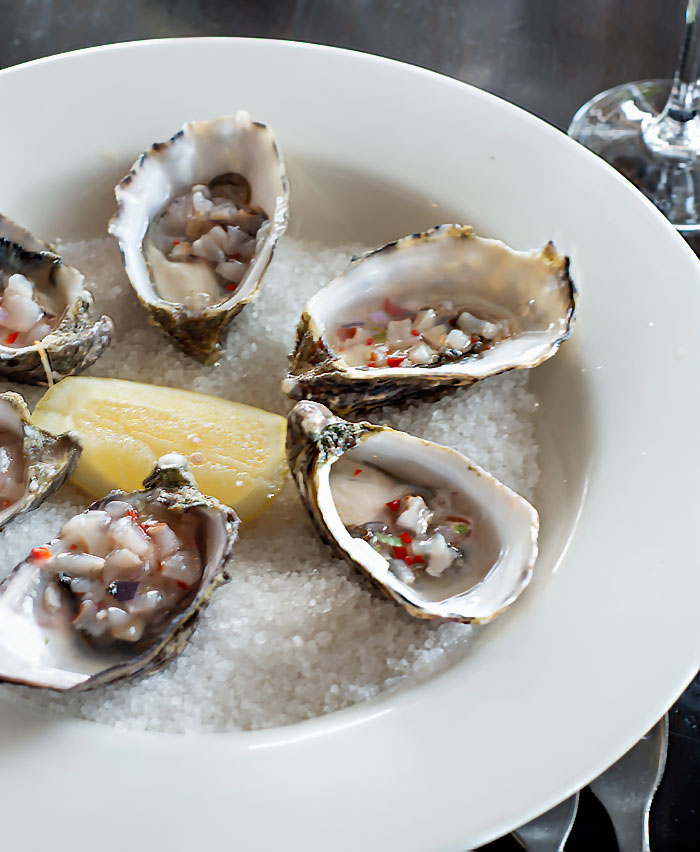
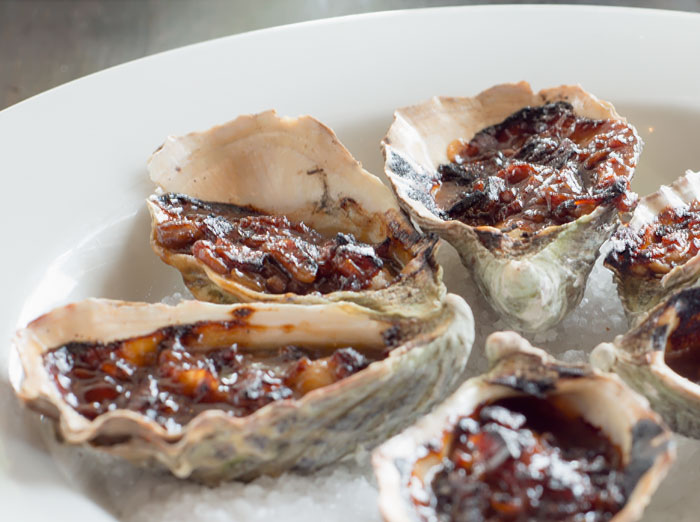
You know I have a problem with seafood so I had this pork belly with a fresh salad of roasted potatoes, feta and greens. The others had these oysters with chopped lychees and chili. They thought they could have been improved with a bit more red chili.
Then they had more oysters – Kilpatrick this time. Nothing left!
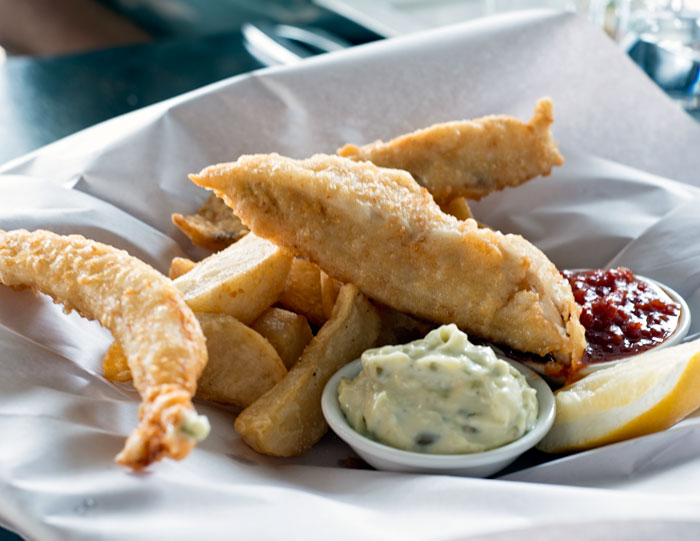
There were also fish and chips on the table because who doesn’t need too much food? The chips were crunchy on the outside and soft on the inside and the fish was fresh off the boat.
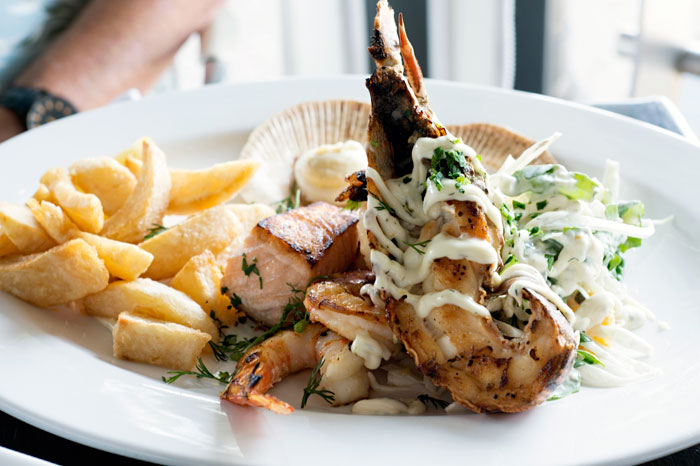
Jan and David had the BBQ Seafood Platter. It was filled with half a Moreton bay bug (crab looking lobster type animal), Mooloolaba prawns, fresh salmon, Hervey Bay scallops and chips.

Way more than I could eat but I couldn’t resist this eye fillet steak with roasted kipfler potatoes, carrots and braised field mushrooms. The port wine sauce was so good I wanted to eat it with a spoon but I was out with friends and minded my manners.

We are not like Lorraine from Not Quite Nigella who has a separate dessert stomach. None of us had one on the day.
If you’d like to try a Thai Bean Sprout Salad, this one is very good but the dressing is not exactly the same as the one above but I’m still working on it. Every time I go I ask for the ingredients and get told something new. One day I’ll have them all.
- 1 cucumber, sliced in two and deseeded, then sliced in half-moons.
- ½ cup sliced red onion, sliced end to end
- 2 cups fresh bean sprouts
- 1 red chili pepper, deseeded and sliced finely
- ¼ cup mint leaves, leave whole if small, otherwise tear into small pieces
- ½ cup coriander (cilantro) leaves
- 1 tablespoon Asian fried onions
- ½ cup cashews (some can be chopped)
- 3 tablespoons rice wine vinegar
- 6 tablespoons lime juice (180 ml)
- 2 teaspoons grated fresh ginger
- 3 tablespoons fish sauce (or to taste)
- 3 tablespoons vegetable oil
- black pepper to taste
- 2 red chillis seeded and finely chopped
- 2 large cloves of garlic finely chopped
- 4 tablespoons sugar (or to taste)
- Combine all ingredients and mix well. Let sit for the flavours to combine while you make the salad.
- In a large bowl combine all ingredients together. Without dressing and cashews, salad will keep in the refrigerator 4-5 days.
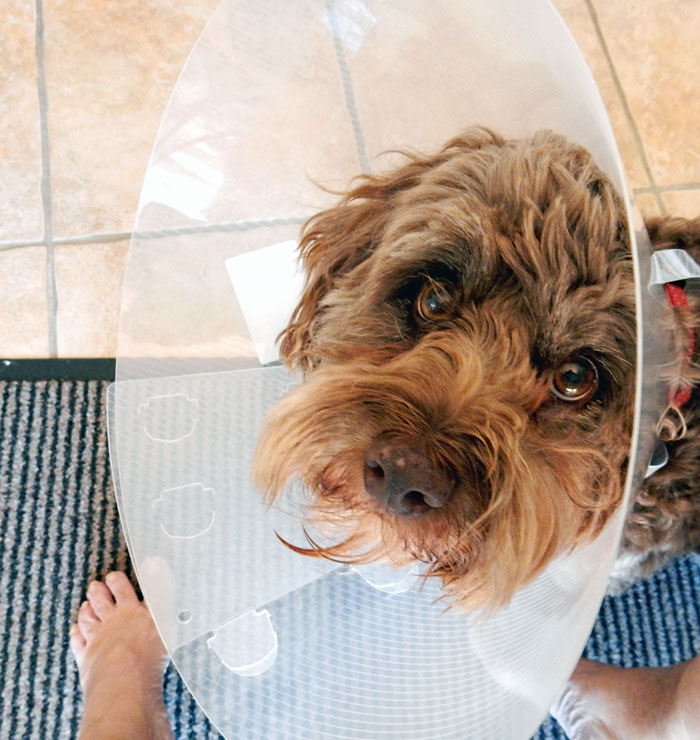
Many of you have asked about Charlie who had surgery yesterday to remove bumps and lumps in several places, including under his left eye. He’s okay and feeling very sorry for himself. The bits are out for examination so fingers crossed he doesn’t have anything sinister.
He won’t pee with the cone on because he can’t sniff the right spot. He walks into everything with the cone and REALLY wants it off. He can reach where the lipoma was removed off his chest with his back feet so he’s made that bleed today and I cried.