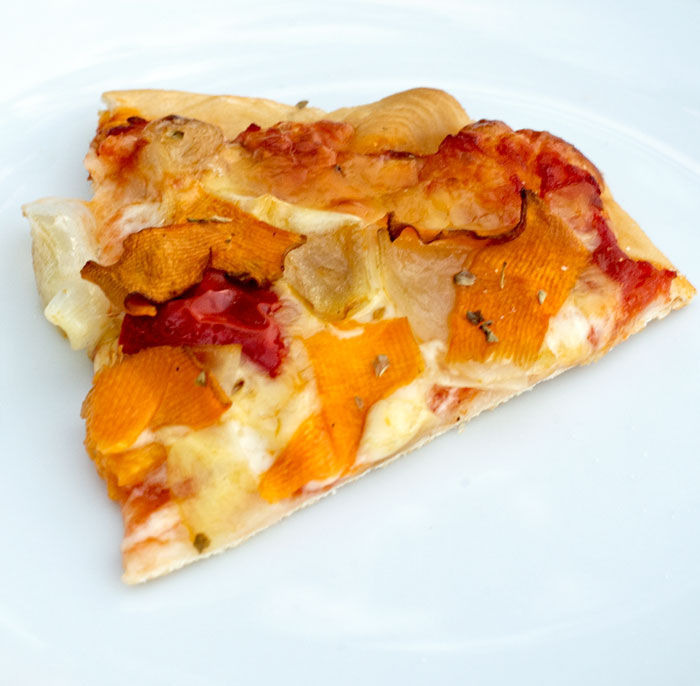
Thin Crust Pizza
I’ve wanted a kettle BBQ for a long time so I could get it hot enough to make a good thin crust pizza with ribbons of butternut squash or pumpkin (depending upon where you live in the world). John found one on sale so it was a win for me.
There was some store bought pizza sauce in the pantry but when I took the cover off, it had leaked around the protective seal so in the trash it went. I was too sore to go to the store so I opened a can of crushed tomatoes, added a tablespoon of olive oil, salt, pepper, a teaspoon of sugar and a shake of dried oregano and then cooked it for seven minutes and left it to cool. I put a head of garlic along with some olive oil in a foil packet and put it in the oven at 325F/160C for about 45 minutes then left it to cool. I sliced an onion into chunks and cut a few pieces of red bell pepper (capsicum) and put it into a measuring cup with a tiny piece of butter and cooked it for 3 minutes in the microwave. I don’t like raw onion on a pizza, do you?
I made the thin crust pizza dough recipe I’ve used before.
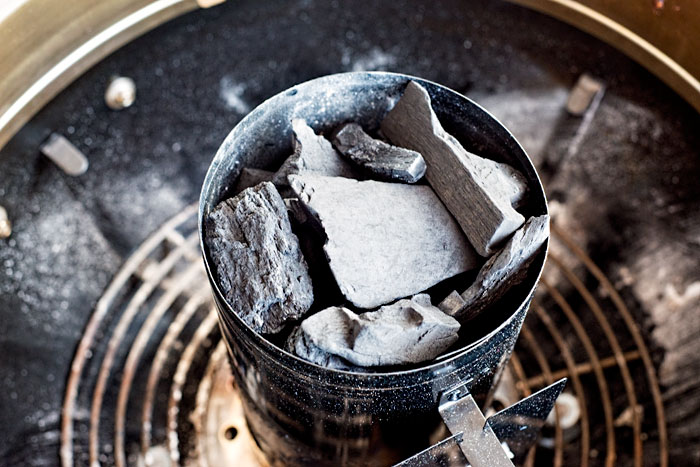
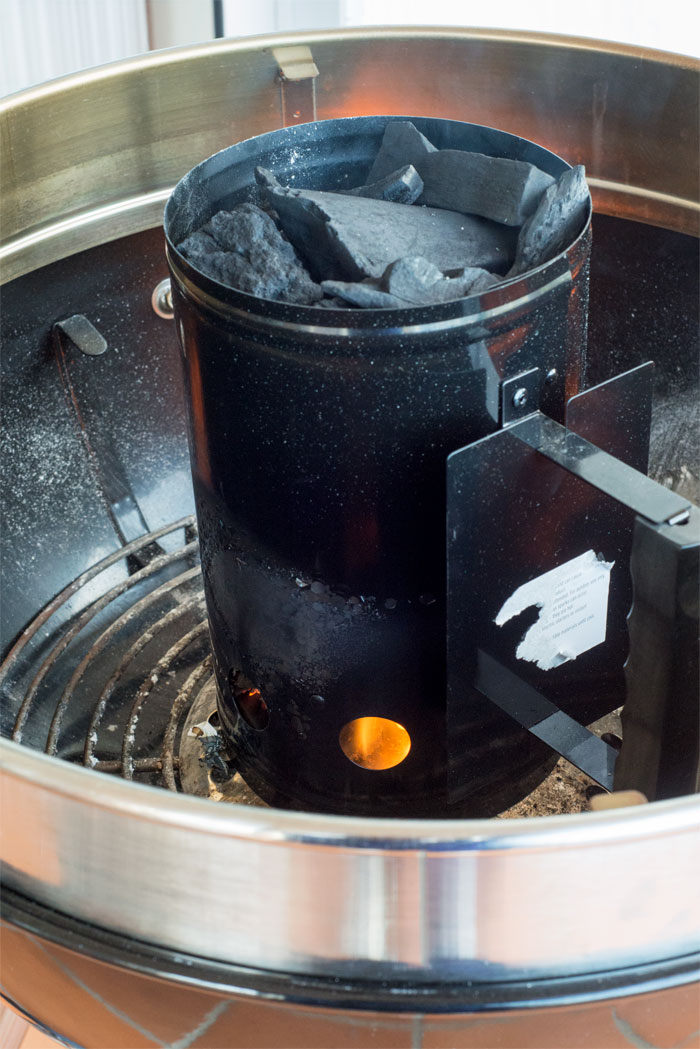
Then it was time to crank up the BBQ. I’m not used to handling lump charcoal and I was covered in soot and then I was covered in smoke but it was good fun.
Once the chimney was roaring hot, I placed them in a C shape at the back of the BBQ and then added a few more pieces of charcoal, then put the cast iron grill on and the pizza stone on top of that – then I waited. While waiting, I used my peeler and shaved ribbons of butternut and tossed them in a plastic bag with a teaspoon of maple syrup and squooshed it all around.
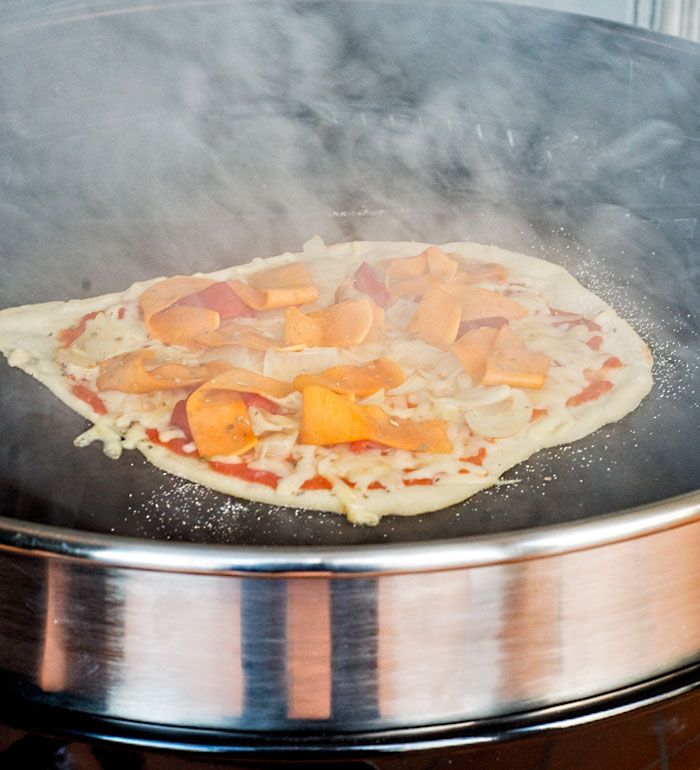
Once the bbq was hot, I tossed in a few pieces of hardwood and let them catch on fire and went to roll the dough. I put cornmeal on a 10 inch aluminum pizza dish, then put the thin dough on top of that and crossed my fingers that it would slide right off.
I used my homemade sauce, shredded mozzarella cheese, the butternut ribbons, the onion and pepper and I cut a few roasted garlic cloves in half and dotted it over the pizza and then added a shake of dried oregano. Then off to the BBQ where I quickly lifted the lid and one quick shake and the pizza was on the stone.
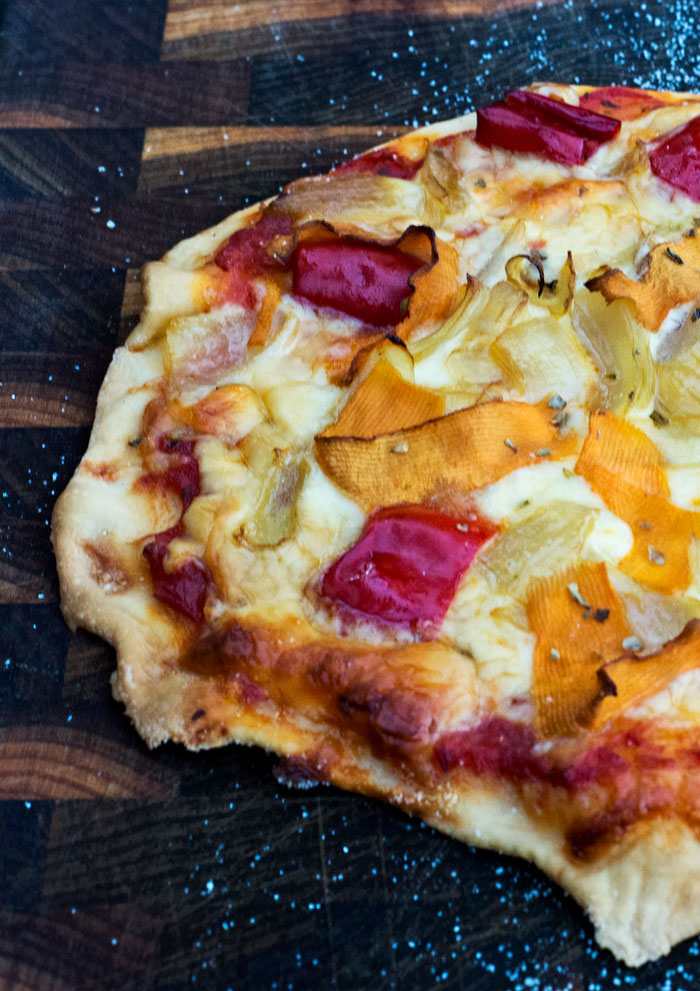
Was it good? It was amazing! Wait til my next pizza when I’m going to be a real pro. 🙂
What’s your favorite pizza topping and do you like thin and crispy or a thick crust?